After many moons of working on body, panel and fiberglass parts, I can now start installation of mechanical components. First up are the firewall insulation and brake line fabrication.
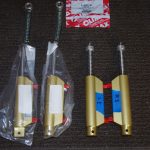 As usual the brake parts are laid out prior to installation. Here the standard Matco brake cylinders which come with the Vans kit are supplemented with 3/8″ ID springs and Climax C-037-A aluminum set screw collars. The springs assist with brake pedal rebound and provide better control during braking. Since the spring tension is adjustable via the collar, the final alignment can be fixed per desire after some braking tests.
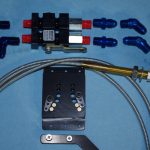 The Vans brake plumbing will be augmented with a Matco park valve from the AirWard kit. The final angles on the AN fittings will be selected for best alignment after the lines are bent.
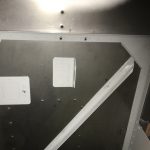
 The firewall on the quick build fuselage comes with the Vans brake line attachment already riveted in place. This was removed to accommodate the base plate from the AirWard kit.
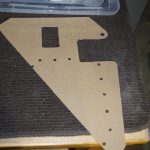
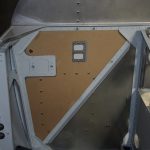 Since the interior side of firewall will also be covered with Rattle Trap sound dampening and heat reflective material, templates for the insulation material were measured and cut.
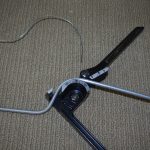
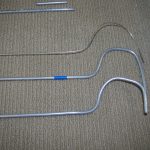 Hard 1/4″ aluminum tubing was selected for the brake line material. Coat hangers were bent into templates for the under-seat hard lines. Then the tubes were bent to fit. Here are the first two examples prior to flanging. The next steps will be the tunnel lines and connection to the parking brake valves.
GLARE SHIELD

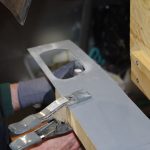 The grab handles on the quick-build glare shield are very flimsy. Since those holds are intended for passenger entry/egress, I feel some reinforcement is necessary. Here the holes are measured and cut in a spare piece of fiberglass to add stiffness.
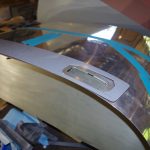 The final attachment of the reinforcement plate will be with rivets, then covered with 1/8″ closed foam padding bonded together with a covering material for anti-glare purposes. Most likely this material will be grey trunk liner – thin, strong, and non-reflective.
INTERIOR PAINT
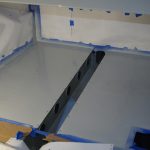
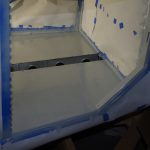 The front seat area paint of the cockpit was fine, but additional work was needed on the back seat/baggage area. This was mostly due to perspiration drops on some flat areas from the previous work. I wound up sweating at the end of the original paint session due to the high outside temperature.
 These cosmetic issues have waited until now for resolution. Now all the interior paint looks good, including the sills which were not part of the original paint session.
CABLE RUNS / BATTERY PLATFORM
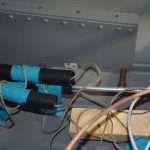
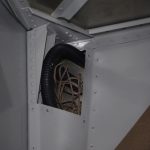 With the time for pulling electrical wires fast approaching, attention is required for the previously installed nylon conduits. Trimming back the excess length was performed. Also done was the rivet installation of the secondary battery platform support bracket.