This week started the fitting of cowls together. Supplemental elements were fabricated which will later provide rigidity when splitting the lower cowl into two sections. Two lower halves will greatly facilitate the cowl removal after a three bladed propeller is installed.
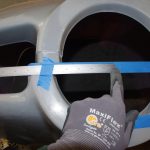
First measure and trim the lower cowl such that the height from center is 1/2 the diameter, and that the inlets are equally spaced above the centerline. In retrospect I should have measured from the inner ring instead of the forward surface as shown.

 The primary stiffness for holding the two halves together will come from an .063″ aluminum plate fabricated while the cowl is still in one piece. This was sandwiched with a layer of West Marine resin to ensure a tight fit without any gaps.

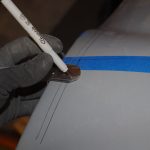
 The jig in the right photo was used to scribe a consistent line on the outer cowl surface. Pilot holes of #40 size were then drilled through the cowl and the stiffener bracket.

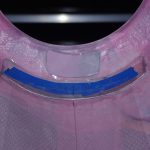
 These photos show the drilled bracket from two angles. The additional fiberglass piece in the left photo will provide overlap (without fasteners) for overlap at the split location.

 Air inlet ramps were the positioned and drilled into the upper cowl.

