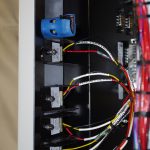
The last few weeks have focused on fabricating backing plates and mounting brackets for miscellaneous devices related to the instrument panel and dashboard configurations.
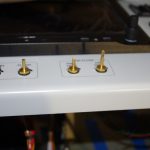
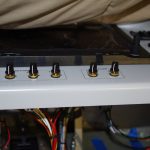 The rheostat controlling the rear air vent servo was purchased from AeroSport Products some time ago. The instrument panel was provided by SteinAir without this unit installed. However, Nick from SteinAir was kind enough to supply an extra knob exactly like the others on the panel – free of charge. The post on the AeroSport unit was quite a bit taller than the stock SteinAir units, so shortening was required. The final outcome looks great.
Here is a view of the installed air vent rheostat viewed from under the instrument panel.
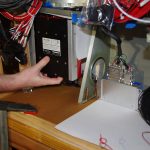
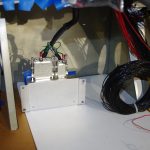 These two pictures show provisional placement of the VPX circuit breaker box and the GAD29 ARINC adapter. These test locations were used to indicate any last minute interferences and/or cable runs to the units before actually punching holes in the sub-panel or the firewall.
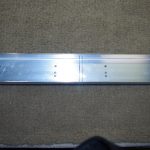
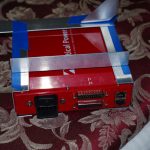 A 2″ square tube, .063 wall thickness was cut in to on a 1953 vintage Delta 28-207 bandsaw, then used to build a holding cradle for the VPX. Final placement of the unit will be fitted with the dashboard clecoed onto the forward fuselage assembly. (more pictures on this in a later post).
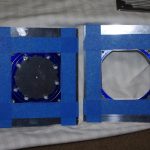
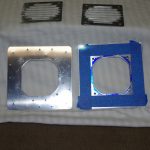 Holes in the dashboard for panel fans require reinforcing backers. The Van’s recommendation is a backing plate at least on inch wide, the same thickness as the original material, and with rivets between no further than 1″ separation and in a row 1/2″ apart. These plates were designed to meet those specs.
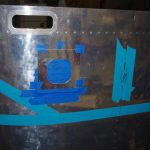
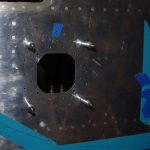 Once fabricated the panel fan backers were measured for location, then the holes punched accordingly in the upper dashboard.
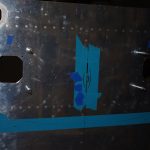 This picture shows the interim state of both panel fan holes. Next steps are dimple the parts for 3/32 rivets, alodine the backers, then rivet into place.

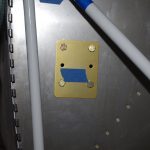 The left photo shows the location and holes for the firewall side ground terminal. On the right is the backing plate for the Airwolf remote oil filter.
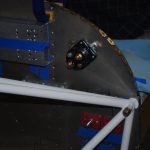
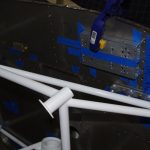 Here is the final location of the starter contactor, with holes drilled through the firewall. The bolts will serve a dual purpose by fastening the cross-tie contactor on the cockpit side. The right photo shows the ANL fuse/shunt fixture also in its final location.
SB-0002
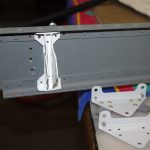 Vans just recently issued a service bulletin about checking for cracks in the lower rudder attachment bracket on the vertical stabilizer. Since my plane is still under construction, I proceeded to remove the original brackets now and replaced with the SB parts.
