This week saw a number of miscellaneous activities completed. The main work involved spraying foam fire block material under the forward floor panels, mainly for sound damping purposes. Other items included conduit tie-down locations and 2″ air vent hole punching.
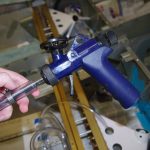
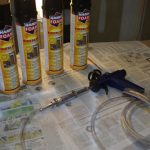 I borrowed a specialized gun for Fomo products from my friend Tal. An extension was fashioned with Tygon tubing to insert under the already fastened floor panels of the fuselage quickbuild kit. The tubing is held in-place with two 5/8″ hose clamps.
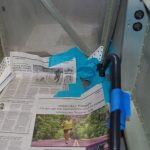
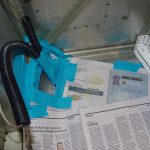 This stuff expands rapidly and is very sticky. I tried to cover large sections of the exterior surfaces for fear of getting this stuff all over.
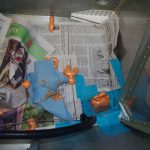
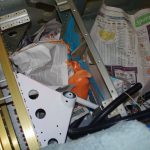 Once out the the nozzle, the foam becomes unruly and difficult to place in the right areas. Despite my best efforts to contain the stuff, it still wound up in undesired place. Notice how much it grew right out of some holes.
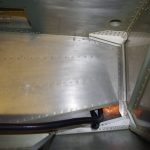
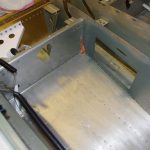 After removing the tape and paper, the expanded foam coming out is visible in a few spaces. The results from a sound perspective were very good. Tapping on the floor panel results in only a dull thud – which should indicate the panel cavities are fully covered. Next up – final cleanup and get ready for interior paint!
Another action was finalize the conduit runs from the baggage area back to the tail section. The right side run will be used for COM antenna and magnetometer, the left side for strobes. The intention throughout the plane is use 0.100″ fiberglass cable lace instead of plastic tie wraps to secure conduits and wires. This method is old school and requires more effort to install, but is much more flexible and should last forever.
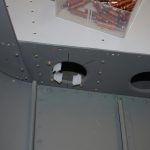 This is the back of the baggage compartment where the black conduits run forward.
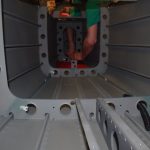 Looking backward from the baggage ares, the Panduit nylon stand-offs can be seen in the lightning holes on the right. Also visible are the smaller nylon tie downs riveted to the stiffeners.
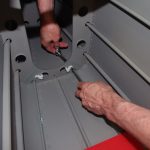 The final stand-off is being install in the rear bulkhead.
Finally, my technical counseller Terry Gardner has a #2 Diacro punch perfect for precision setting the two air supply holes needed in the baggage bulkhead.
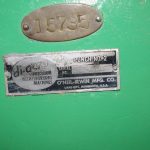
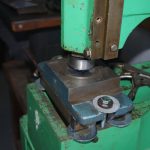 The punch is setup and ready to roll…
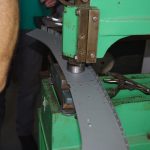
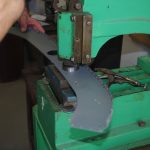 Line it up, pucker, then pull the lever. Within milli-seconds a perfect 1.9735″ hole is positioned exactly in the bulkhead.
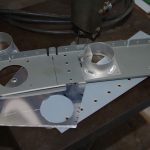 Not the best picture, but it does shows how well the punched hole and the 2″ SCAT tubing bracket align. Just a bit of deburring the hole edges and then good-to-go.