HS Preparation – cont.

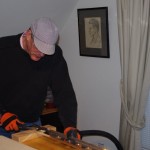
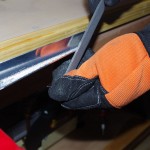
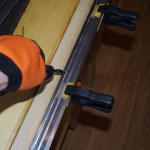
Spent about 7 hours this week deburring the ribs on the horizontal stabilizer.  This is tedious, but necessary work.

IMGP3788


IMGP3792

HS Part Mods

In addition to the start of deburring all the horizontal stabilizer parts, I have also begun marking those pieces to be trimmed or created from angle aluminum.

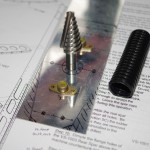
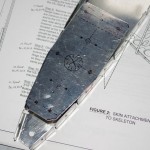
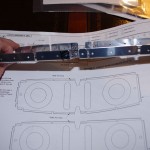
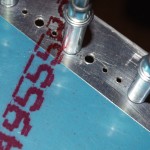
IMGP3775Two of the spar ribs require parts of the tabs to be removed.  Here the particular portions are noted with a Sharpie.


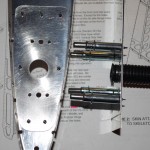
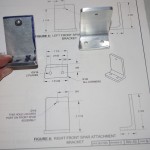
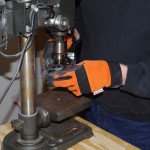
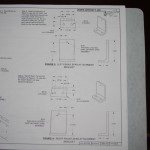
IMGP3790Manufacturing two attachment brackets from 2″ x 2.5″ angle aluminum is going to be a real challenge.  I do not have precision equipment to get the holes drilled to the tolerances laid out in the plans.  I will probably ask my technical counselor on some much needed advice before moving forward.


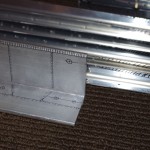
IMGP3781Here is my markup of the angle aluminum used for the attachment brackets.

Paint Schemes

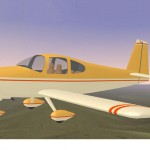
The final paint scheme for the plane is a long way in the future. However I did want some vision of how it might look, plus have plenty of time to decide with Rita on colors and layout.  A software package called Model Airplane Color Builder was purchased to help with the visualization. Here is one of the default bitmap files from the application.

RV10-paint01

HS Preparation

This weekend I started organizing the pieces for the horizontal stabilizer.  This included laying out most of the metal parts, removing vinyl, and starting the deburr process. This section has the most elements, so metal preparation for all the ribs, doublers, and spars will take some time.

IMGP3762Horizontal stabilizer pieces ready to start preparing.


This is the third section I have started without setting a single rivet.  Right now I have all the logistics ready for alodining for corrosion protection, but do not yet have a suitable air compressor for priming.  The shed is almost ready to go now that the paint booth filter has arrived.  I just need to setup the exhaust fan configuration prior to buying the compressor. (a post on the shed configuration will come later).

Rudder – Countersinks

The trailing edge of the rudder has a very thin wedge of AEX sandwiched between the left and right skins.  This fragile piece of metal has to be well secured during the countersink operation making ready for the double-sided rivets eventually holding everything together. Using the angle iron jig prepared earlier, I drilled #40 holes through the iron about every 7th hole using the AEX piece as a template.  Clecoes were then used to clamp down the trailing edge for processing with a micro-stop countersink.

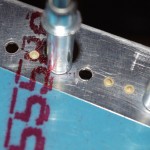
IMGP3758The two middle holes indicated with the Sharpie lines in the middle are #30 in size – big enough to allow the guide portion of the countersink bit to protrude through the trailing edge, but small enough to still provide solid backing.  The overall result was very good.  A few finished holes can be seen on the right.

Rudder – Bonding Strap Background

Earlier I had decided on the bonding strap approach based on forum posts and recommendations from other builders.  After actually drilling the vertical stabilizer and rudder, I came across specific instructions in an FAA document – Advisory Circulat AC43.13 – 1B/2B page 11-77.  Turns out what I did was exactly as required by this publication, once again proving luck will beat skill on most occasions.

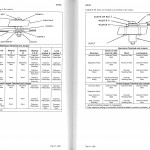
ac43-13-11-77ac43-13-11-77 Because I already have tinned copper braid for the strap, the lower material listing is the one to follow. Only “Washer B” made from aluminum alloy is not in my inventory, I have all the rest.  A quick order to Aircraft Spruce can quickly resolve that issue.


Rudder – Bonding Straps

Eric and I disassembled the rudder today.  First up was deburr everything and dimple the skins.  After this I went ahead with measuring and drilling the attachment points for the bonding straps on both the vertical stabilizer and rudder spars.  The process was the same described in earlier posts for the static wicks.

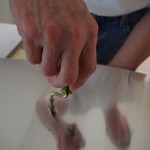
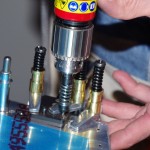
IMGP3728The swivel handle with a #40 countersink bit attached goes much faster and just as cleanly as twirling with my fingers.  It is also much easier on hands and forearms. We dimpled both rudder skins after this step.


IMGP3742This is a mock-up of how the nut plate for the bonding strap will look on the backside of the rudder.


IMGP3741I wanted the bonding strap in the middle hinge location of the vertical stabilizer, close to the upper bracket of the pair – and horizontally aligned with its opposite partner on the rudder. This mock-up shows how close to the bracket I was able to place the nut plate.  The horizontal alignment also turned out near perfect.


IMGP3745This is how the final configuration should look.  The nut plate jig works great!  After so much time doing research and thinking about how to make these modifications, I am very pleased with the outcome.


Rudder – Static Wicks

I performed my first modification to the plans today by drilling attachment holes for the static wicks. Based on the manufacturer suggestions , they should be placed on the outer edges and most rear portions of the plane to properly dissipate an electrical charge. Using a pair about 12 inches apart is also recommended. The rudder on the RV10 has two rib stiffeners at the top almost exactly configured for this application.

The modification requires measuring, drilling and countersinking holes for nut plates to secure the static wicks.  There are special jigs available for different sized screws, so I bought one (~$35) for 10# screws to fit the Dayton Gardner 16165 wicks.  Because the skin and stiffener on the rudder are only a combined .050″ thick, I started the main hole with a #40 drill, then progressively got bigger (#30, #21, #17, #12, #10) until the final hole diameter was reached.  This was a bit tedious, but kept the thin skins from bending or tearing. The jig then is used to exactly align the attachment rivet holes.  Since holding the wick in place is not considered structural, an ‘oops’ rivet with a smaller than normal manufactured head will be used to keep the countersink small and shallow (more on ‘oops’ rivets in later posts).

The hardware list for the static wicks and bond straps:
MS21078-3 two lug elastic insert anchor nut
MS21080-3 one lug elastic insert anchor nut
MS35207 machine screws (various lengths will be used)

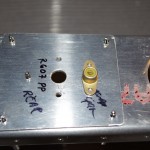
IMGP3705Here using the #10 nut plate jig to position the rivet holes relative to the main screw holes. The jig essentially provides a perfect fit every time. I cannot imagine spacing the three holes properly without that tool.


IMGP3706Final drilled holes for the nut plates with plastic inserts.  Notice the three hole design on the left compared to the single lobe method on the right.


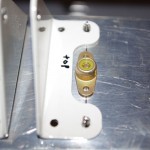
IMGP3716This picture shows the decreasing headroom moving r-l towards the trailing edge. Notice why the use to the one lug anchor plate is needed here.


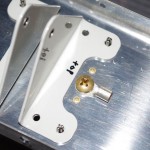
IMGP3727The attached holes have been hand countersunk with an ‘oops’ rivet head used to check depth. This picture shows approximately how it will look when the final riveting is completed.


IMGP3714Dry fit of the Dayton Gardner static wick on the uppermost rudder rib. The result looks good.

Logistics – Jigs, Air

The electrical power went off for quite a while today at our house and at the boys, as heavy thunderstorms and high winds knocked down trees and power poles around the area.  Our internet connection was also down for about an hour. Tornado warnings were issued for Wake County, so not much work was done directly on the plane.  I did use the time, however, to stage and later assemble a few logistical items.

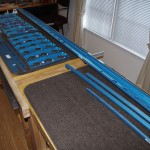
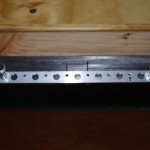
IMGP3690Many RV10 builders recommend using a piece of angle iron for both jigging and back-riveting the trailing edge of rudder, elevators, and ailerons.  I had a six foot long section 1.75 inch wide, perfect for this application.  Here I am measuring for the attachment holes.


IMGP3693The plan is marry the angle iron with a 2×4 for clamping onto the workbenches.  Making the combined unit removable will help with flexibility in the cramped shop space.


IMGP3696The holes are recessed in the front side wood face to allow the bolt heads with washers to be flush with the surface.


IMGP3698Clamped on the workbench side the angle iron can be adjusted up or down relative the the top.  Before using the unit to align the rudder trailing edge, I plan to belt sand the iron and the married 2×4 wood.  This will ensure they are absolutely flat,  plus removes rust from the old iron surface.


IMGP3702Also spent time with the power out to assemble the Ingersoll-Rand ARO 1000 Series air filters and regulator.  (l-r) 5micron filter, 5micron filter, 0.3micron coalescing filter, and 160psi regulator. The goal is making sure no dust, oil, or water gets to the spray gun for priming/painting. These small units supposedly can handle ~50cfm of air, much more than the 5cfm needed for my Asturo ECO/SX gun.

Rudder Drilling – Part 2

Used a chart and homemade guide to get the necessary 5 degree angle to drill perpendicular to the chord line as per instructions.

IMGP3685A rough drawing of the trailing edge configuration.


IMGP3687Home drill guide in operation.


IMGP3688Drilling in progress.


IMGP3689This close-up shows the trimmed trailing edge.  A bit more rounding is needed to smooth the AEX piece.  I intend using ProSeal (or equivalent) on the trailing edge, so hopefully some of the empty space will get filled with this material.